INTRODUCTION
Since the invention of the camera, people have always tried to copy one of the greatest wonder that our body possesses: the eye. Unfortunately, despite many more than a hundred years have passed from the first time someone “captured the light”, we are still far from overcoming Mother Nature.
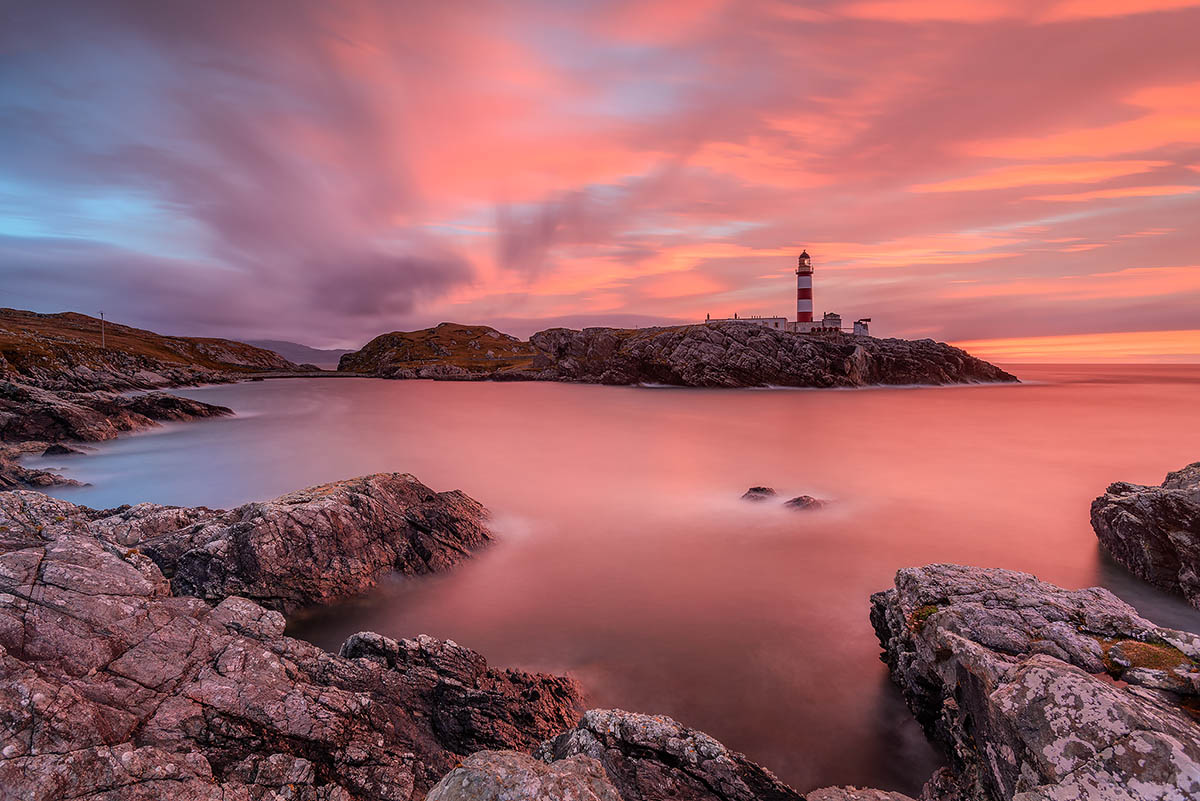
Try to think about the last beautiful sunset you have witnessed, by the sea: you will certainly remember the light and the warm tones, the marvelous colored reflections of the clouds on the sea and the golden sand. But I am also certain about the disappointment that you experienced when you tried to take a picture of that moment. The fact that you take a picture with your cellphone or with your beloved reflex camera does not matter; if you expose for the sky, the beach becomes like a silhouette, and vice versa if you expose for the beach then the sky will become completely white. Why? The answer is indeed simple: through the visible spectrum, your eye sees much better than your camera does.
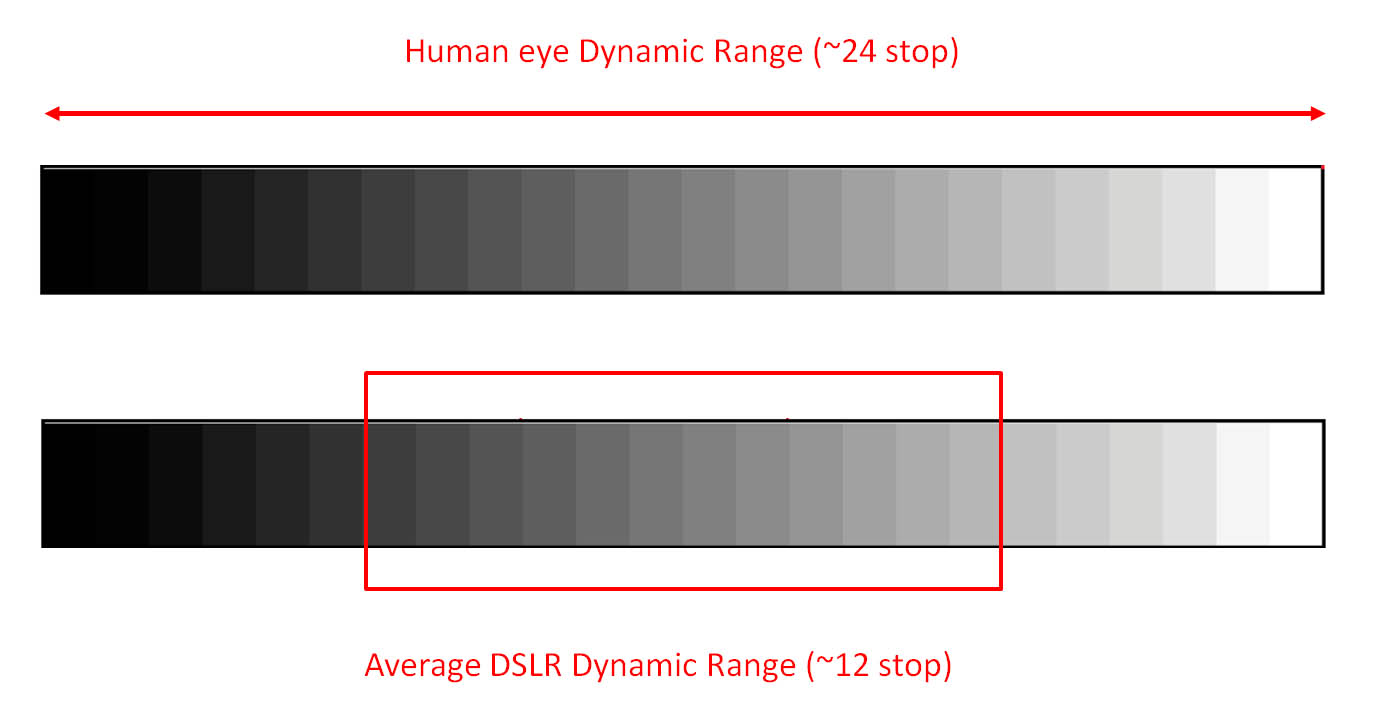
The parameter that describes this behavior is called Dynamic Range, which defines the gap between the minimum and maximum values of brightness that can be recorded by a photographic medium.
Thus the Dynamic Range basically indicates the ability of your camera to simultaneously see details in very bright areas and very dark areas of the scene.
Our eye has therefore a wider dynamic range than the sensor of our camera. By how much? About twice the range.
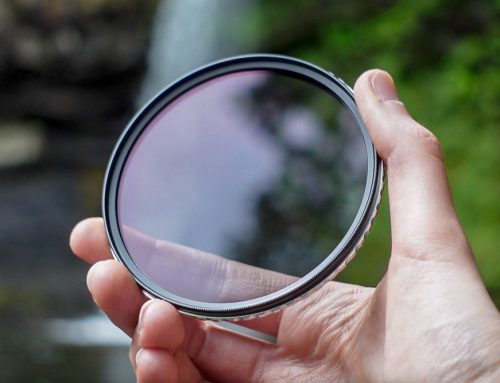
The best way to overcome this limit of the camera is to use GND (Graduated Neutral Density) filters.
WHAT IS A GND FILTER
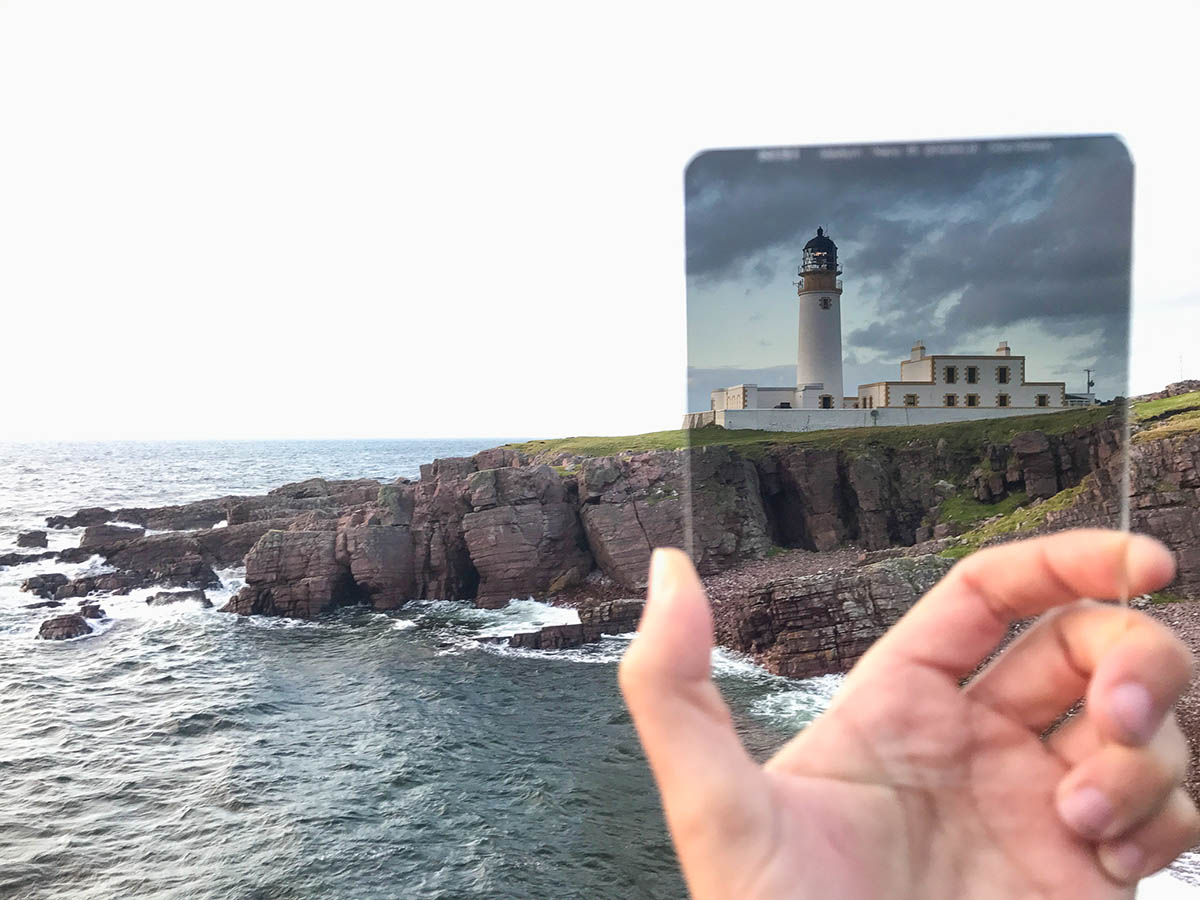
A GND is a filter made of two distinct parts: a completely transparent one, and a darker one.
By positioning the darkest part of the filter so as to make it cover the brightest part of the scene, we are able to reduce the gap between the different exposure levels needed within the framed scene.
A reduction in the exposure gap is a reduction in the dynamic range of the scene, and this allows our camera to simultaneously capture the details in both bright and dark areas of the scene.
Basically, if we draw an analogy, we can say that GND filters are like sunglasses for our camera.
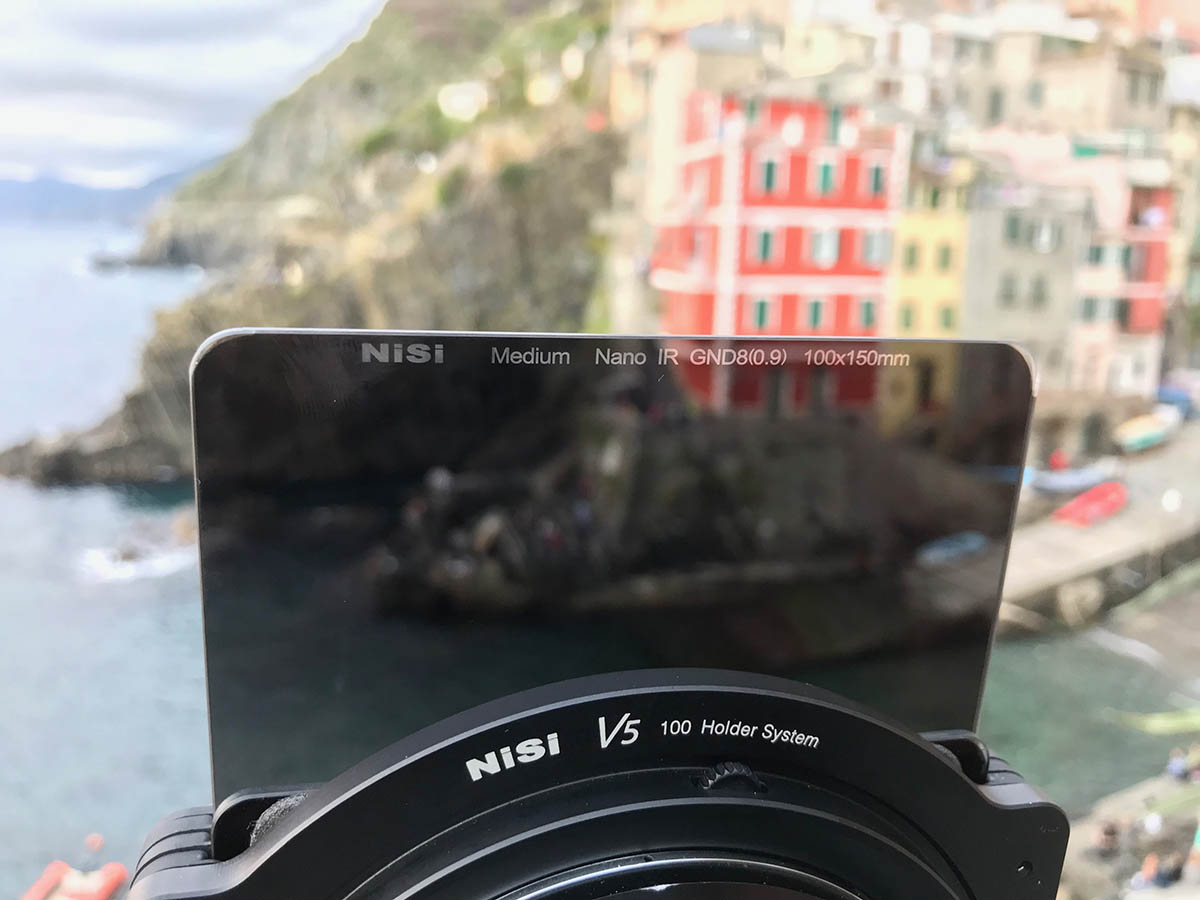
All the NiSi GND filters are made of true optical glass, and this is an essential aspect in order to get sharp images and not to affect the optical quality of your lens.
Moreover, the IR nano coating will guarantee images without any colour cast, and the hydrophobic and oleophobic coating will make your life much easier when you’re in action.
Until a few months ago, GND filters could have been divided in only three categories, based on the type of transition between the dark and clear part of the filter:
1. Hard edge filters, which are characterized by a distinct boundary between the transparent and dark area. They are therefore used when the separation between the bright and the dark areas of the scene is well defined, such as the horizon over the sea.
2. Soft edge filters, which are characterized by a soft transition, and therefore used when the transition between light and dark areas is not so clear. A classic example is when you’re shooting in a mountainous area.
3. Reverse filters, which are nothing more than Hard edge filters with the dark area fading out the more you move farther from the line of separation to the upper border of the filter. Basically they were invented to better manage sunrises and sunsets, where the light is more intense above the horizon line.
Unfortunately, sometimes none of the above-mentioned types of filters is suitable for the situation you are into. For instance, we may think of a wonderful marine landscape where a promontory, with a lighthouse on its top, comes into the framed scene just along the horizon line, or we may also think about an urban landscape where skyscrapers exceed the horizon line.
If we use a soft edge filter, we won’t be able to properly control the light transition from the very bright sky to the dark foreground, while if we use a hard edge filter, the landscape area that exceeds the horizon line will become highly underexposed.
For all these situations, NiSi has created the Medium GND filter.
THE MEDIUM GND FILTER
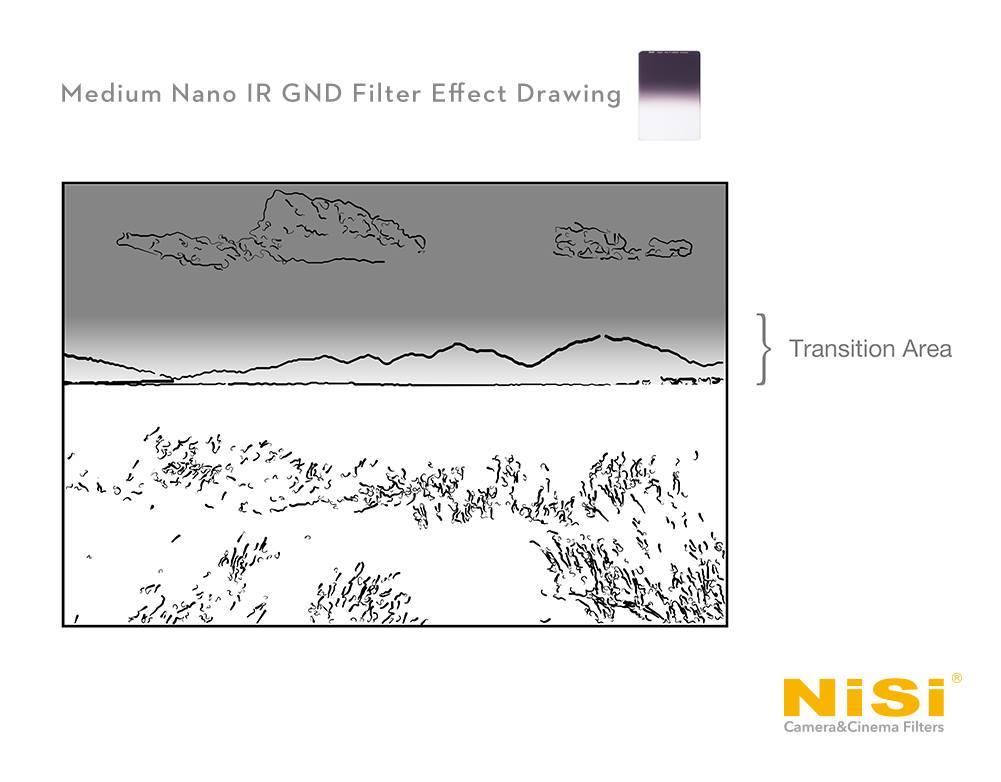
The GND Medium filter differs from the previous GND filters by its type of transition from the clear to the dark part of the filter.
The completely dark area of the filter covers about 55 mm. Where it ends, the actual transition area begins, which covers about 30 mm, before the completely clear area of the filter begins.
By positioning the transition area so as to match the part of the image where the skyscrapers or the promontory with the lighthouse exceed the horizon line and go into the sky, we will be able to balance the exposure in a very effective way.
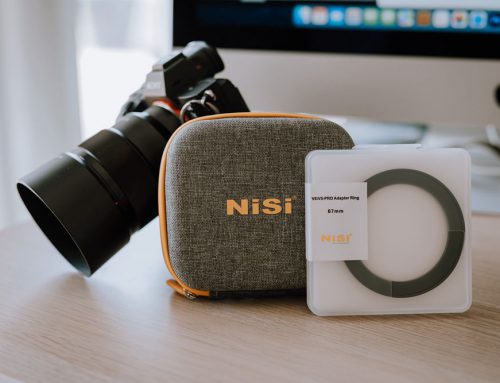
Also this filter is made of high-precision optical glass, and in addition to the IR coating, which guarantees absolute colour neutrality, it has hydrophobic and oleophobic nano coating, allowing a very easy cleaning when it gets dirty, even when you are out in action.
Let’s discover the behaviour of this filter in action.
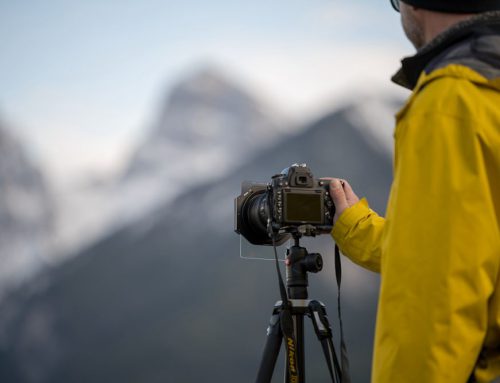
THE MEDIUM GND FILTER IN ACTION
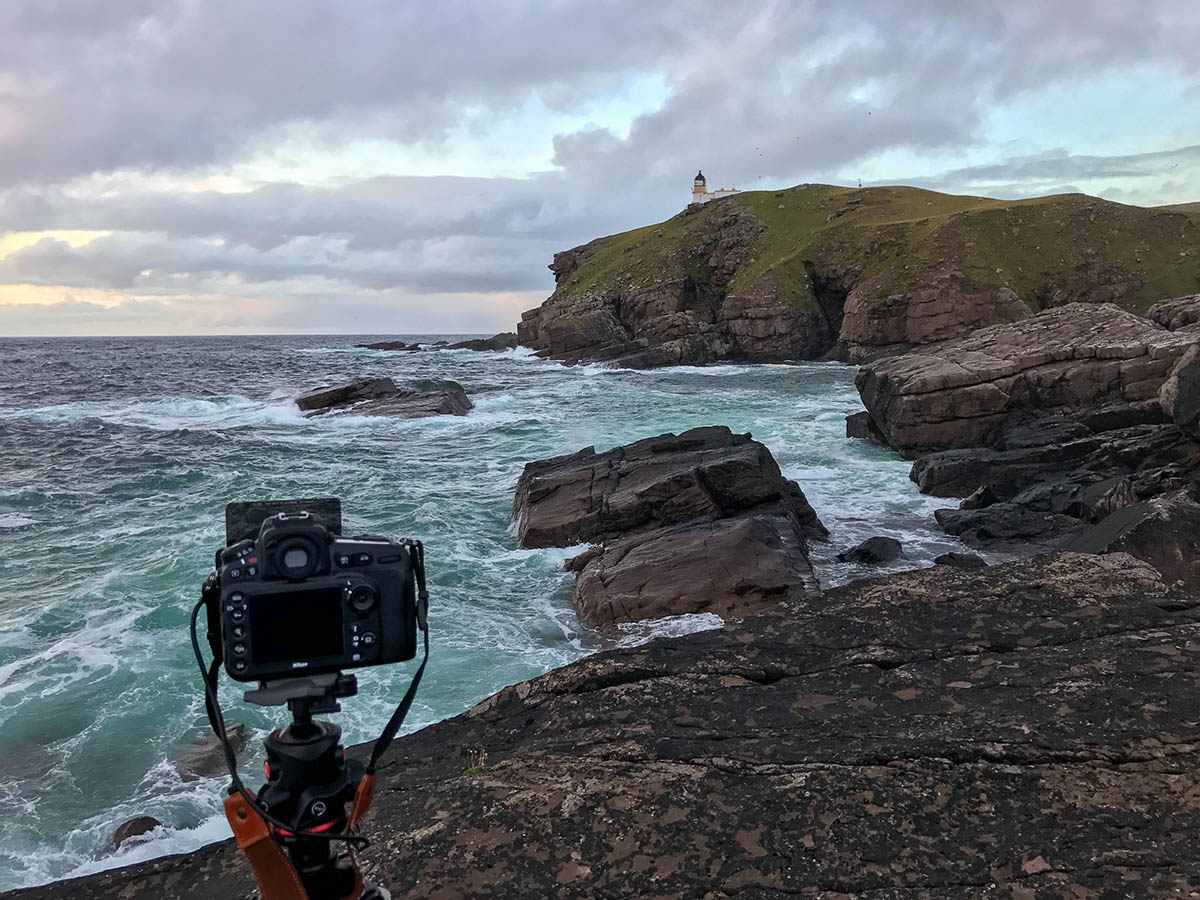
The test of the Medium GND filter has been carried out in two places that I’m especially fond of: Scotland, and Cinque Terre, in Italy.
Preliminary remarks: these shots that you can see have not gone through any post-production. Only chromatic aberration correction and lens distortion correction have been applied, as those are in no way connected to the filter. Filter positioning has also been emphasized in order to underline the different effects of the various types of GND filters.
The first series of shots was taken in Scotland. We are next to Bow Fiddle Rock, Scotland. In front of us we have a typical marine landscape where one element, which in this case is a wonderful natural arch, emerges from the horizon line.
It is clear that we need a GND filter, as our camera is not capable of capturing the details throughout the whole scene. If we shoot without using filters, the sky has no details, as the exposure was set for the foreground area, which is darker.
This is a very common situation, when you have just one emerging element and thus we may tend to think that the use of a GND Hard filter would be the optimal solution.
But if we use it, we will notice a few problems right away: the first, and most noticeable, is that even if the sky has been completely recovered in terms of details, the element emerging from the horizon is highly underexposed. Moreover, as the millimetric positioning of a Hard filter is always difficult, the filter itself creates a discontinuity in the exposure of the sea, thus making the shot a bit unnatural.
On the contrary, if we use a Medium GND filter as in the third image, the result is simply fantastic and natural: the overall exposure is perfectly balanced, the element emerging from the horizon is not subjected to underexposure and the filter transition over the sea area is quite uniform.

No Filter

With Hard GND

With NiSi Medium GND
Let’s move on to the second image, moving to my beloved Cinque Terre, in Italy. We are in a village called Riomaggiore, and this time the situation is really ambiguous.
About half of the composition is taken with the typical horizon line alone, with the light coming from that side. In the other half we have the village emerging from the sea like an actual mountain. We cannot take into consideration the use of the GND Soft since, even if the village takes a significant space, the light line is lateral and clear enough to nullify the graduality of the filter.
But if we use the GND Hard as in the first image, the result is rather terrible: half village is definitely underexposed, and following the light line over the sea we obtain a very distinct transition in the water, which makes the shot unnatural.

With Hard GND Filter

With Medium GND Filter
So we try to use the Medium GND and the result is really excellent: the shot is well exposed and we are able to read the details in both bright and dark areas. The village has no underexposed areas and also the light transition over the sea is uniform and natural.To see exactly the effect of using a GND filter, here you have a brief video:
CONCLUSIONS
The Medium GND filter is a filter that many photographers have been waiting for so long, and it surely represents a valuable ally when you’re in action. The professional photographer will now have a middle gradation between Hard and Soft, so as to be capable of better resolving certain compositions wherein some elements exceed the horizon line and make it difficult to handle the exposure.
At the same time, the amateur photographer might find that the Medium GND is the right filter to start their journey through the world of sheet filters, as its gradation makes it well suited to many situations that would be hard to solve using the more extreme filters.
Also the Medium GND filter from NiSi Filters is made of high-precision optical glass, and the hydrophobic and anti-IR coating allow the filter to really have no color cast.
In short, I can’t really find a reason why we shouldn’t have this filter in our camera backpack!