When photographing at night, there are some technical aspects of modern DSLRs which can limit the quality of your images thanks largely to the existence of sensor noise. Three main factors come into play when considering the unwanted appearance of noise: High iso shooting, long exposures and brightening shadows in post processing. Unfortunately, all three are required to some degree in night photography. Here are some methods for controlling noise.
In camera noise reduction
All modern DSLRs have a function to reduce noise after a long exposure.
The problem with using this method is that the camera requires the same duration of time as your original exposure in order to calculate the noise reduction. This means that you cannot shoot continuously, and you certainly cannot shoot for stacked star trails using this method.
I would only recommend this strategy if you only plan on shooting single still night images. Otherwise, my recommendation is to turn off ‘in camera noise reduction’.
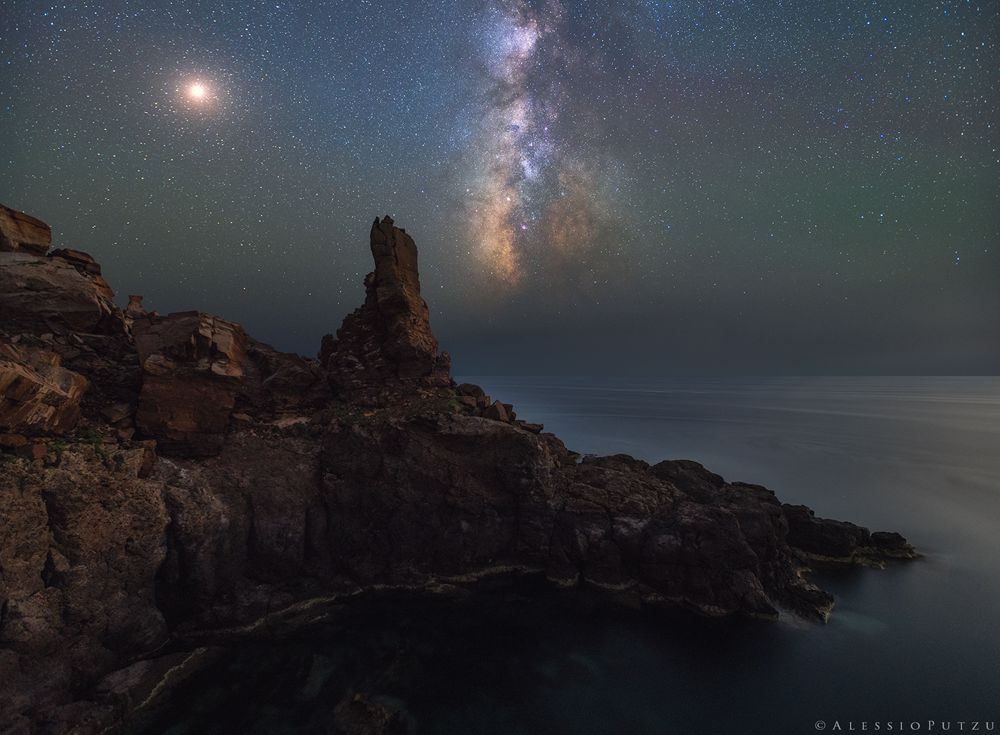
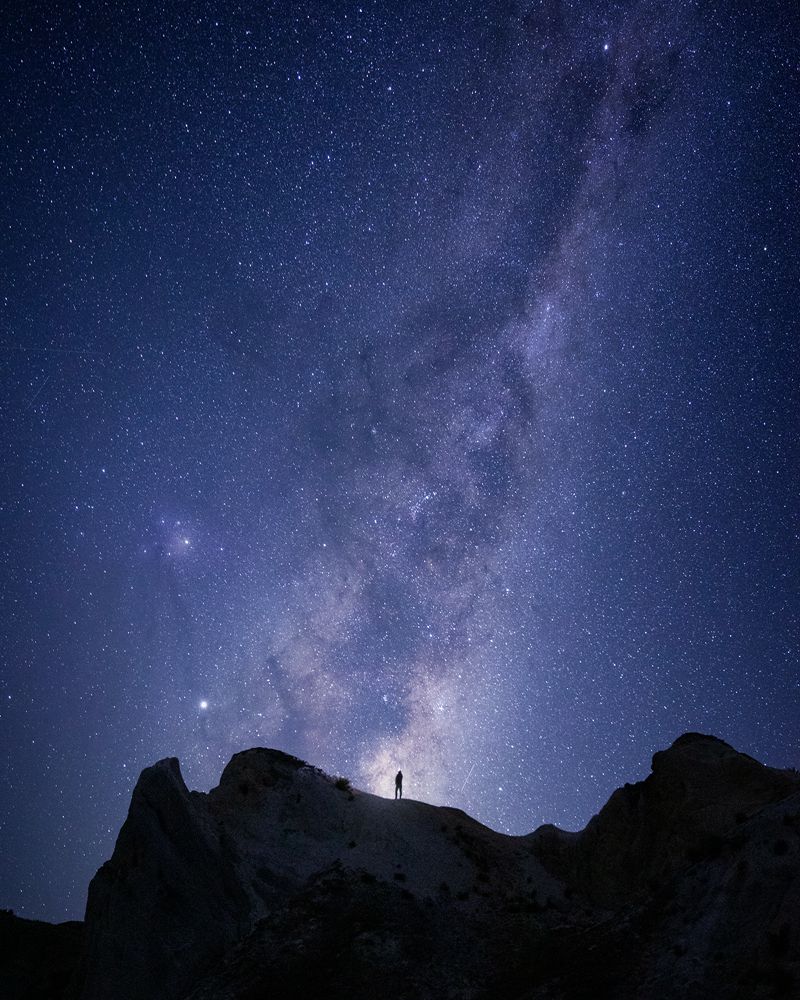
@ Alessio Putzu Shot with NiSi Natural Night filter
Expose images as well as possible using the lowest feasible ISO
For night photography, certain subgenres rely on a short exposure such as Milky Way photography (unless you use a star tracking device). Generally speaking, for an F4 lens you would typically need shoot at 6400iso for 30 seconds, for F2.8 lenses 3200iso for 30 seconds. Depending on your camera, going above these iso ranges may result in unusable images due to the noise produced. My ceiling of ISO for the Canon R5 is still 6400iso.
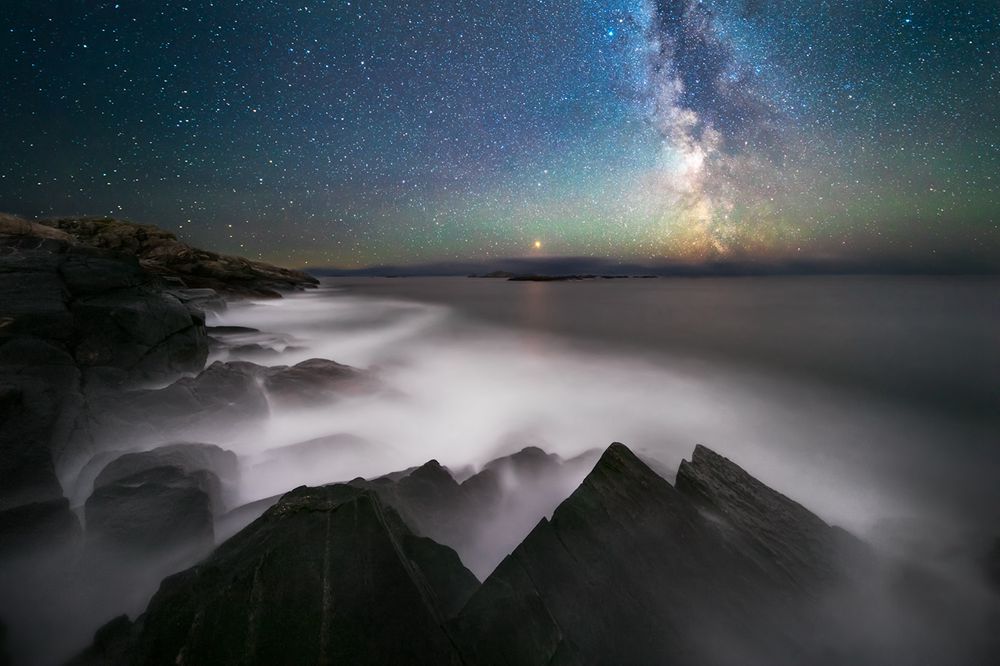
Generally ensure that your images are not too badly under exposed. The combination of high iso and bringing out shadows in post processing will lead to even more noise being produced. Shooting in RAW also helps with bringing out shadows more effectively.
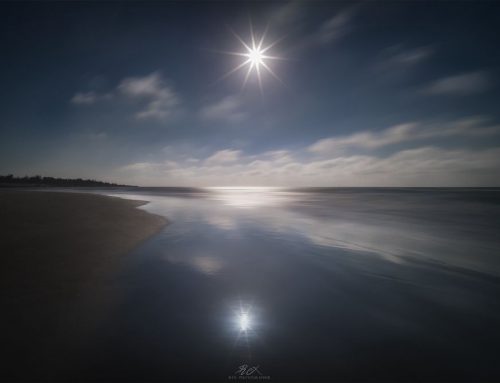
@ Lee Cook Shot with NiSi Natural Night filter
Selective noise reduction on dark areas
There are many noise reduction methods in software that are available. The simplest option lies in the ‘details’ section of Lightroom. The slider for luminance noise can be used by I rarely go past the slider value of 50 as this leads to ‘plastic’ texture-less looking images.
The risk of noise reduction strategies is that the software may mistake stars for noise. One work around this is to use luminosity masks to reduce noise only in dark areas of the image in order to preserve the presence and texture of stars in the image.
@ Marcin Kowalski Shot with NiSi Natural Night filter
Shoot multiple frames and stack images using average method and stacking software
These days, I shoot multiple frames for Milky Way images or for any night shoot with still subjects requiring high iso. A simple explanation of the ‘average’ method for reducing noise in photoshop is as follows:
- Open all the images as a single file with multiple layers.
- The background layer is your base image which remains unchanged throughout
- You can have as many layers as you like – the more layers, the more effective the noise reduction. The percentage opacity of each layer above the background is worked out by the formula “1 / [layer number]”. For example, the 2nd layer’s opacity is 50% (1/2). The third layer’s opacity is 33% (1/3), the fourth layer’s opacity is 25% (1/4), the fifth layer’s opacity is 20% (1/5) etc.
- Merge all the layers together and you have a noise reduced layer for the static elements of the scene.
- You cannot use this process for Milky Way images as the stars move from frame to frame. Therefore, I would recommend using software that stacks the images such that the stars align. The current program I am using is ‘sequator’.
Astrophotography with the NiSi Natural Night Filter – Block Unwanted Wavelengths of Light!
by Dylan Toh