When using your camera, be aware of the situation you are in before you decide on what camera mode to shoot. Personally, I am most comfortable rapidly adjusting settings on manual mode due to years of built-up muscle memory. Despite this, I acknowledge that the use of other modes is more beneficial for certain situations.
Here is a summary of when I would use which mode:
Automatic modes
Advantages
- If you are a beginner, these modes might work best so that you can concentrate of composition and not ‘miss the shot’.
- They also work well when you are not after specific effects in a scene related to depth of field and exposure duration.
- Take note of the settings the camera has chosen and how they have impacted the final result.
Disadvantages
- No control over depth of field. Subsequent images may have too shallow a depth of field in dark environments, or unintended large depth of field in a well lit scene.
- No control over shutter speed. Motion blur from a slow shutter speed may occur in dark environments. Unable to perform long exposures adequately, especially when using filters.
Shutter priority
Advantages
For scenes where you are after a specific appearance, shutter priority will work on most occasions. Examples include:
- Setting a very fast shutter for action and wildlife photography.
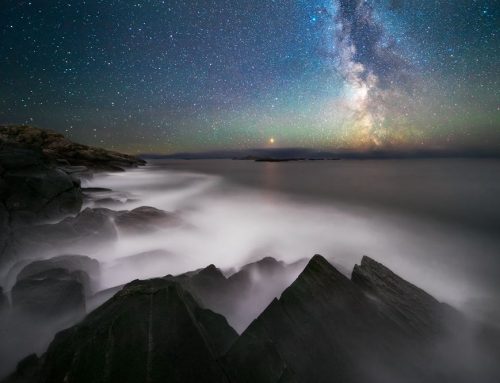
- Setting a slow shutter for water motion.
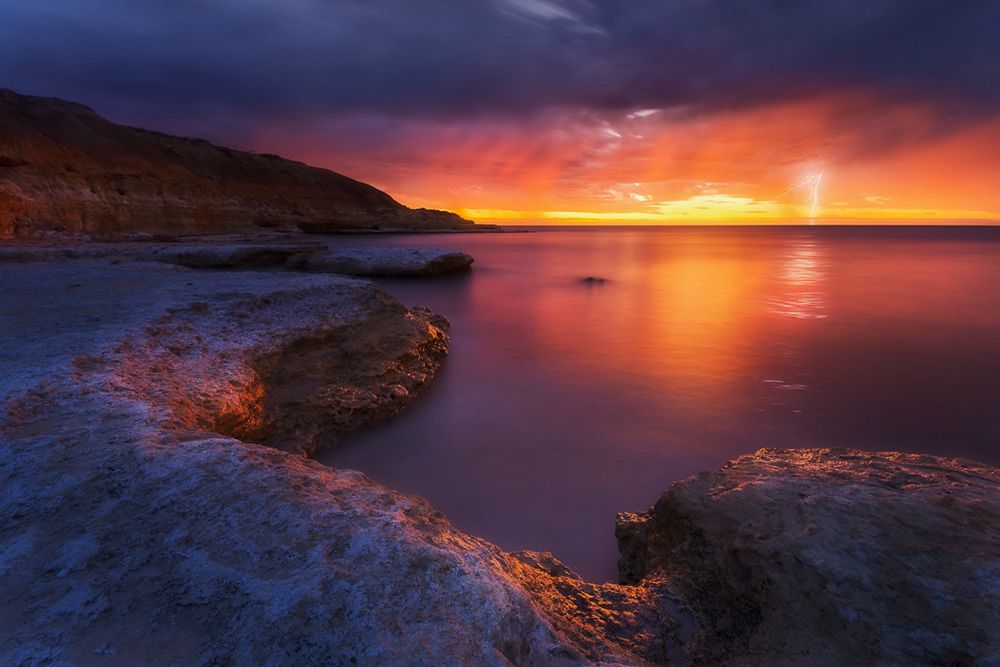
@ Dylan Toh Shot with NiSi ND 1000
Disadvantages
No control over depth of field.
- In dark settings, the camera will likely choose a shallow depth of field which may result in unintended out of focus areas in the image.
- In bright settings, the camera may adjust the aperture to a very small aperture resulting in possible image degradation at F22 for instance.
Aperture priority
Advantages
- For scenes where you want to specify a depth of field, this will work well. A shallow depth of field for portrait photography (eg. F2.8).
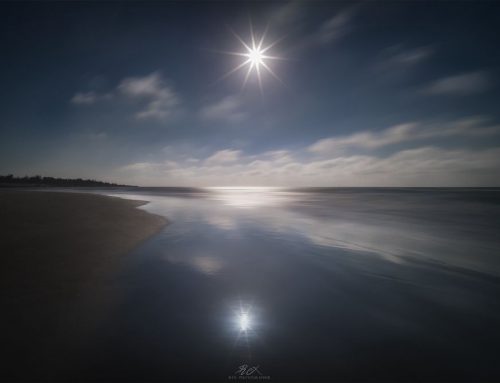
- A large depth of field for landscape photography (eg. F11).
@ Dylan Toh Shot at F11 with NiSi ND 8
Disadvantages
- No control over shutter speed/ISO combinations.
- This is particularly problematic in low light settings where a long shutter speed might preclude the ability to take sharp images without using a tripod.
Full Manual
Advantages
- This mode allows you full control over depth of field, shutter speed and ISO. Settings can be adjusted to the specific situation you encounter and the genre of photography you wish to shoot.
Disadvantages
- Runs the risk of ‘missing a shot’ if unable to adapt settings quickly enough to adapt to a situation.
- Runs the risk of producing inferior results to auto modes if unaccustomed to using the ‘exposure triangle’ to its full potential.
Custom modes
Custom shooting modes are perhaps the most powerful tool you can use when setting up your camera. This allows you to produce several modes of shooting which you can quickly revert to if a situation changes rapidly. As an example, I have a custom mode which enables a minimum shutter speed of 1/200, minimum aperture of F5.6 and no ISO limitation. In a situation where I am shooting long exposure landscapes in manual mode, often a flock of birds or other animals may appear in a scene. Rather than change all the settings manually, I could switch quickly to this custom mode to ensure that I can freeze the action of the wildlife and then resume my landscape shooting.
When using filters
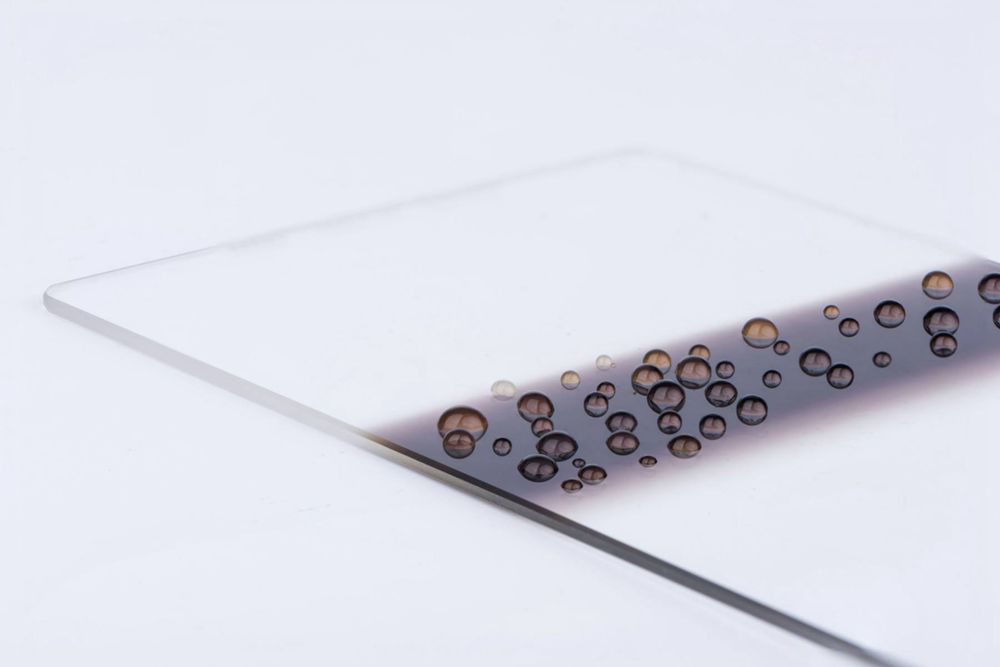
When using filters, it is generally for the purpose of controlling dynamic range or to create a long exposure. All the above apply if using GNDs to control dynamic range. When shooting for long exposures, I would strongly recommend only using shutter priority, or full manual mode (including bulb exposure). You generally do not want the shutter speed to be the unknown when shooting in other modes.
Photographing a Sunrise Location at Sunset
by Dylan Toh


