I am writing this section as a guide for beginners who may be using close-up lenses to take macro images instead of a dedicated macro lens. Here are some tips from my experience:

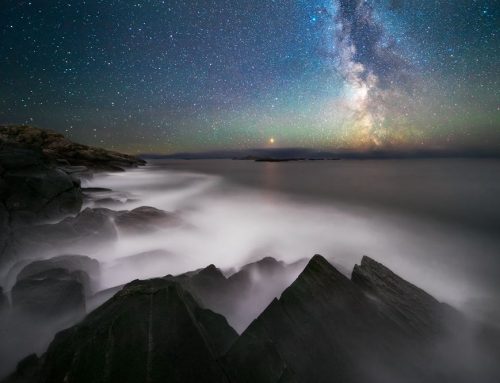
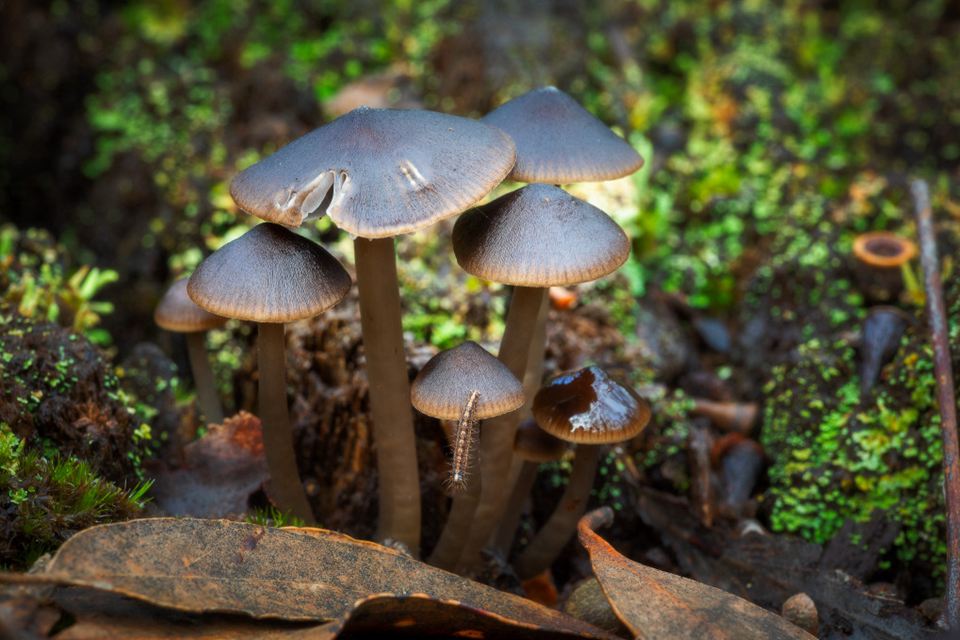
- Try to shoot subjects that are relatively stationary. A moving subject adds tremendous complexity to this process, especially you are a beginner. Fungi are often good subjects to try shooting first.
@ Dylan Toh
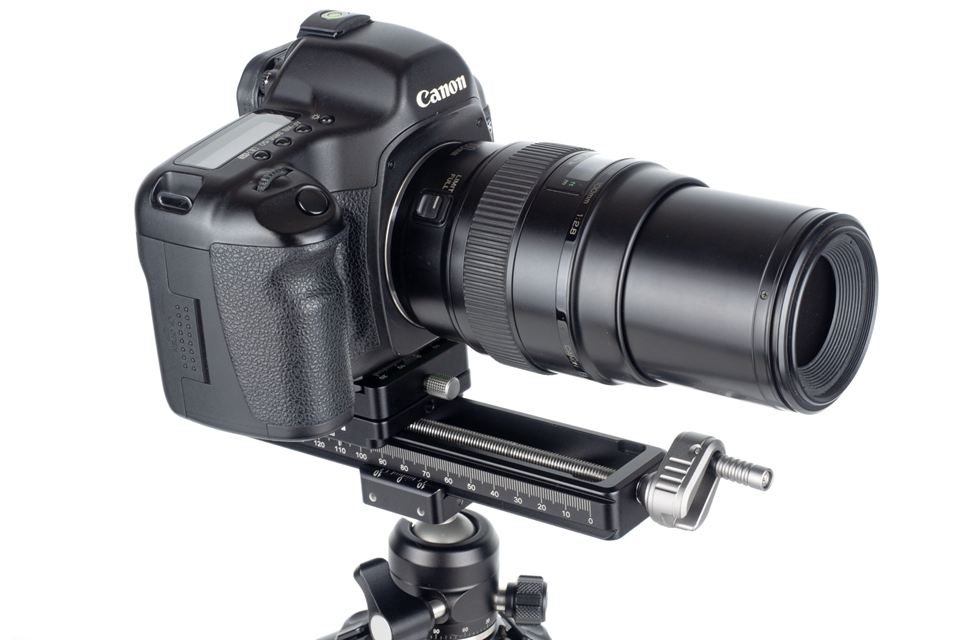
- Use a tripod if possible. This allows you to frame your subject and not worry about shifting frames if you were trying to take images handheld.
- Achieve the correct exposure for your first shot and leave the settings the same for all of your ‘focus stacked’ images. If there is a wide dynamic range in your scene, you may choose to bracket each frame (which adds significantly to post process work).
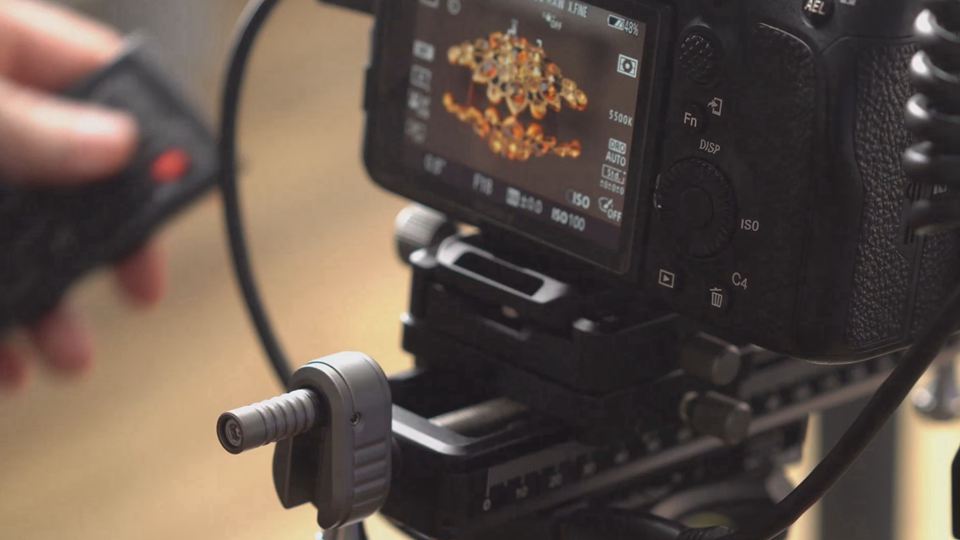
- Set the camera to manual focus and live view.
- Focus on the closest part of your subject and take your first image.
- Refocus sequentially on parts of your subject from near to far and take each image. Certain cameras such as the canon R5 may do this automatically for you but this process is manual for most others.
- If you have the luxury of using a macro rail (in which case you are more than likely at a higher level than a beginner!), your focus does not need to change. In the previous step, you would simply adjust your distance from the subject using the macro rail and take images after each adjustment.
- Find appropriate software that will stack the images and blend them according to each image’s focal plane. Photoshop’s function is more than adequate.

@ LENSVID Shot with NiSi Macro Focusing Rail NM-180
The first image in the stack (out of the camera, no processing): only the front of the gem is in focus
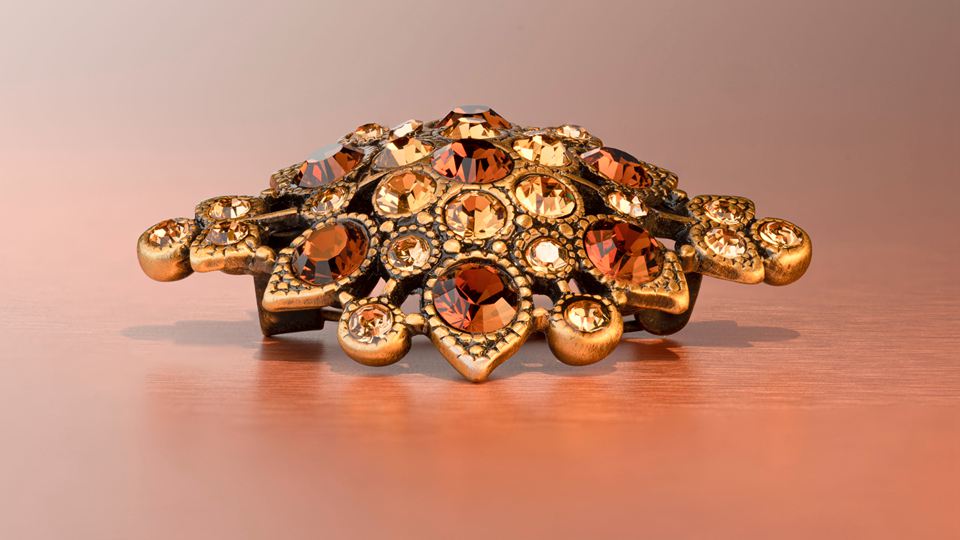
@ LENSVID Shot with NiSi Macro Focusing Rail NM-180
The finished picture after stacking 18 images in Photoshop (and some light re-touching): everything is in focus
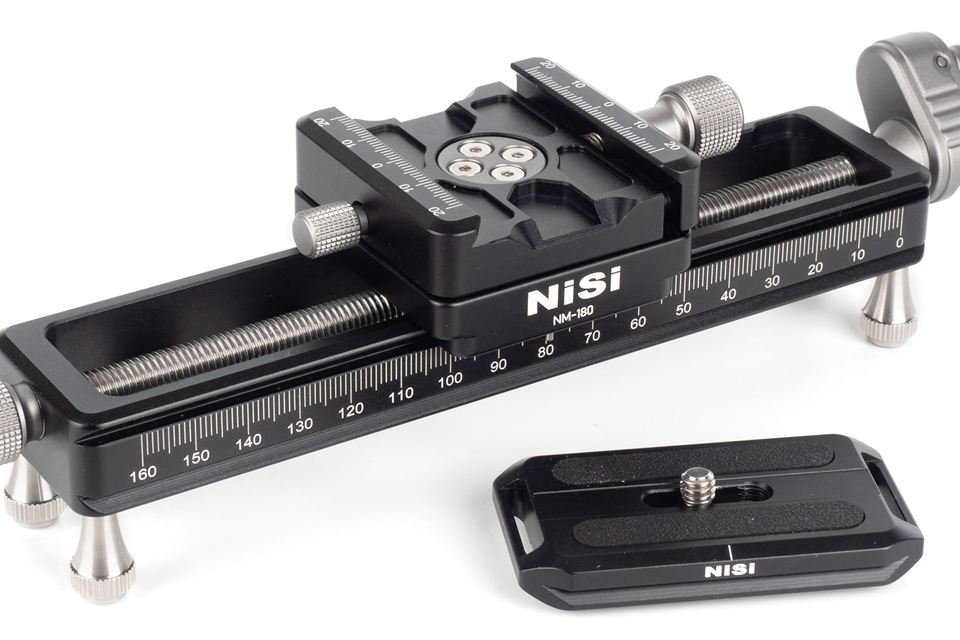
NiSi Macro Focusing Rail NM-180 Review
by Dylan Toh