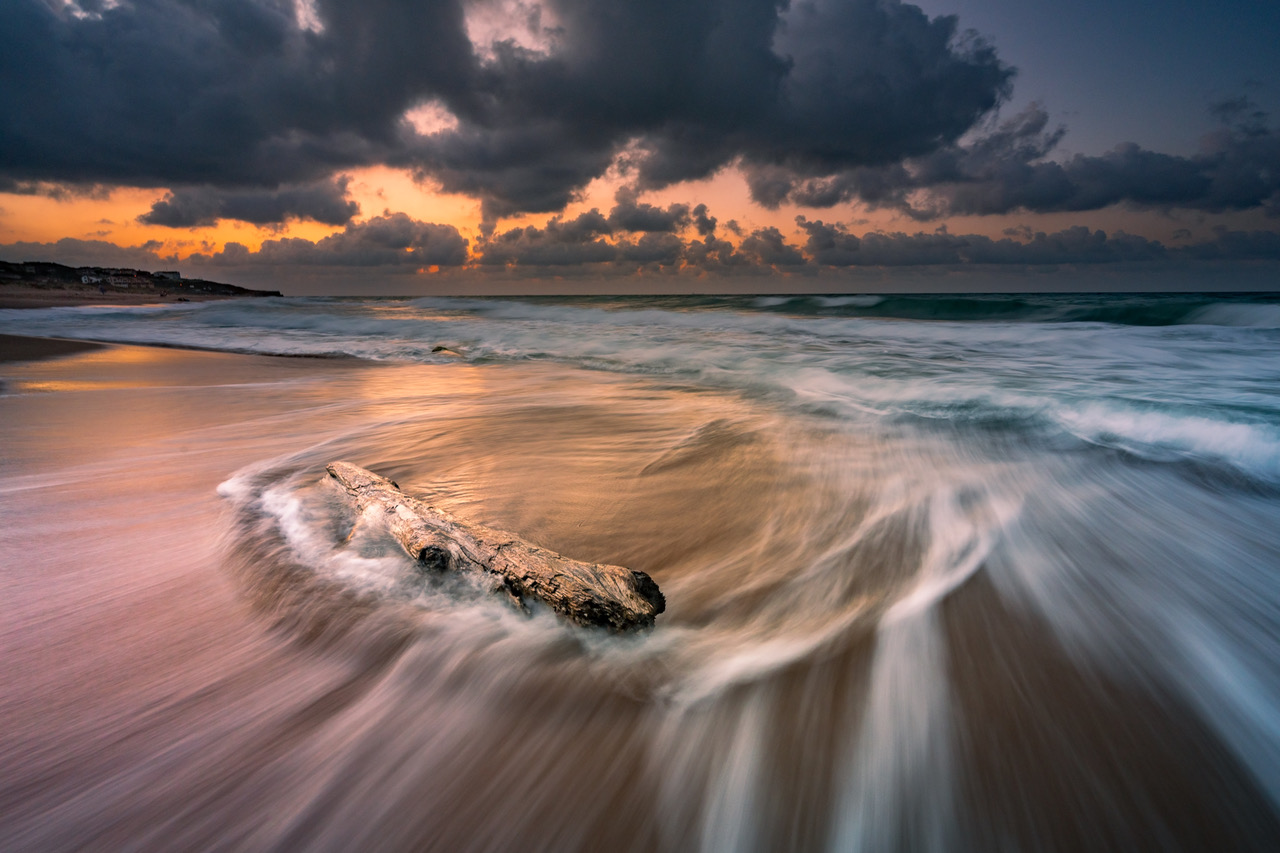
You might wonder how landscape photographers are able to produce such vibrant images. One common presumption is that it is all done in post processing. While there is an element of truth to this, there are far more ways to enhance your images other than sliding the vibrance and saturation sliders to the right! At every step of the photographic journey, there are ways to achieve a vibrant image (if that is your chosen style of subject matter).
Seasonal variation
Certain scenes are simply more colourful during different times of the year. Verdant greens might be best in the northern hemisphere summer or the Australian winter. Golds and Reds should be sought during the autumn/fall, bright colours of wildflowers during summer. Knowing when and where to shoot is a key part of planning a colourful image.
Timing of the day
Certain scenes are strikingly bold in the middle of the day using blue skies as a backdrop. One example of this is canola fields against a blue sky. Many other scenes benefit from the low light at the ends of the day giving golden hues and long shadows. If you are lucky, or plan your shoot with correct weather conditions, post sunset pink and magenta hues can fill your image with colour.
Exposing images appropriately
One tenet of photography states that one should ‘shoot to the right’ of the histogram implying that overexposing an image to exposure all shadows will give you greater detail and image quality. This however runs the risk of having unrecoverable highlights, where colour often exists (rather than in shadows). If you have a camera with good shadow recovery and dynamic range, exposing to the left, or exposing an image such that the highlights are properly exposed, will bring out the colours in the highlights while shadows can be recovered in post processing.
Selective use of filters
- CPL

@ Gabriele Lorenzini Shot with NiSi ND 64 + Landscape CPL
A circular polariser will generally enhance colours and reduce glare. As a result, my CPL is on my camera by default when shooting landscapes. I choose not to shoot with a CPL only when there is a rainbow (you might polarise it out!), shooting for sunstars, or shooting plain skies in the composition.
- Natural Night filters

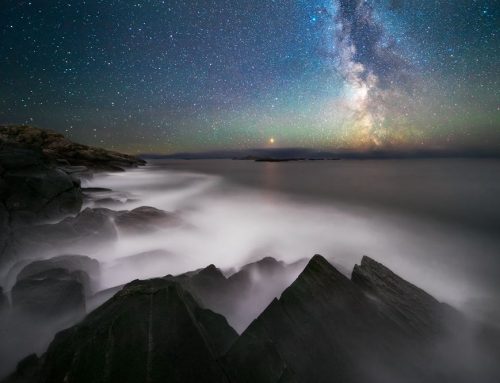
@ Daniel Tran Shot with NiSi Natural Night filter
This can produce a much more palatable colour scheme of night images when shooting in the presence of artificial light sources and light pollution.
- GND filters

@ Emre Ceylan Shot with NiSi GND 8
For the same reason as point 3, if you can control the highlights of your image, it is more likely that you will retain the rich colours of the sky and bright areas of your image.
Post processing tips
- Shoot in RAW! Though you do not have the immediate satisfaction of a colourful jpeg that appears on your camera LCD review screen, RAW files allow much more latitude for colour adjustment before dreaded artefacts appear.
- Use a broad colour space. This topic is somewhat controversial as different photographers have different priorities for output. I generally edit my pictures as a 16 bit file in Adobe RGB to give me latitude to adjust colours without creating artefacts. Other photographers might edit solely in their intended output such as sRGB for printing such that the end result doesn’t need further modification.
- Adjust contrast primarily. By adjusting midtone contrast in particular, colours of a scene will start to ‘pop’ naturally without touching a vibrance and saturation slider. Be careful with too much contrast adjustment such that highlights and shadows do not become ‘clipped’ on your histogram.
- Selective colour enhancement. Rather than apply broad strokes of saturation adjustment, consider which colours in the scene enhance your image. You may choose to enhance these colours selectively through a variety of methods. Concurrently, you may also wish to desaturate opposing colours (on a colour wheel) to further give enhance selected areas of the image.
- Vibrance and Saturation. With RAW images, there is a degree of vibrance and saturation that I increase for each image simply because RAW files are bland to begin with. Thereafter, I don’t touch this slider in my workflow until the very end depending on intended output and appearance. Use this wisely and as rule of thumb, I rarely increase either vibrance or saturation beyond +10.
NiSi ND-Vario Filters Boost Your Anamorphic Flare Colors
by Dylan Toh


