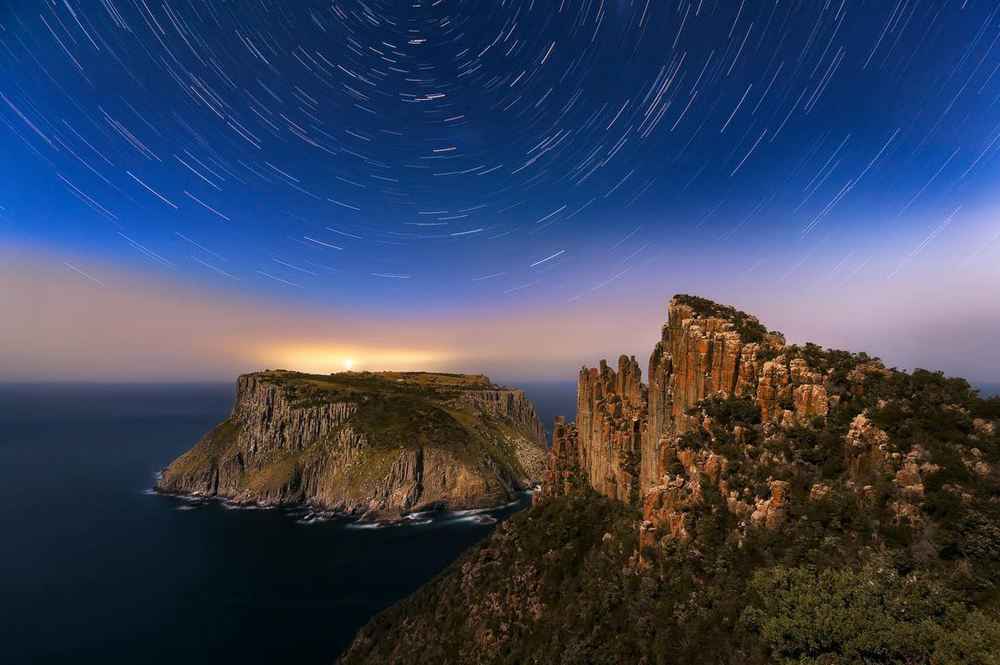
A star trail image gives the appearance of the stars moving through the image in a circular motion. You can achieve this appearance either through a very long single exposure, or stacked multiple long exposure images. I much prefer to stack images in order to avoid long exposure noise. You can vary the appearance of the star trails through adjustment of aperture, ISO shutter speed and even focus. The following are some tips for shooting star trails.
The orientation of the stars
If you want to have the trails completing a circle, you need to know how to find celestial north in the northern hemisphere or celestial south in the southern hemisphere. There are apps such as PhotoPills that can help you with this.
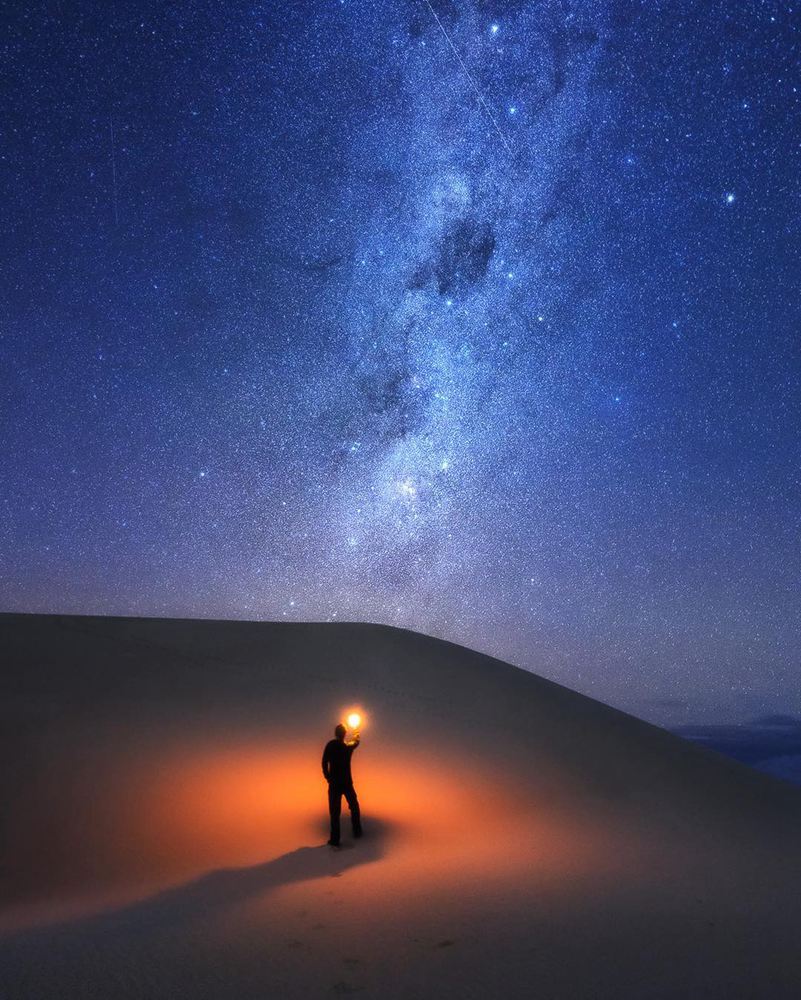
@ Dylan Toh
If you want trails to give an appearance of raining down on a foreground subject, you may choose to shoot star trails perpendicular to your relevant celestial pole.

@ Dylan Toh
An engaging foreground
It’s easy to get carried away with the appearance of the stars in the image but any good night image will also include an engaging foreground. My approach is to take an image of the foreground during blue hour after sunset or before sunrise. This foreground can be blended in with the star frames to form a ‘time blend’ image. I personally find it quite jarring to look at foregrounds blended in where there is clearly direct sunlight on the image but that is up to individual taste.
Focussing in the dark
I highly recommend setting your camera to manual focus. There are two ways that I use to focus in the dark. The first is to use live view and magnify as closely as you can on the brightest stars. Correct focus is achieved when these stars appear as pinpoint as possible. The other, also using live view, is to shine a bright torch on a distant object and focus on that object.
@ Dylan Toh
White balance
For a stacked image, you should fix your white balance such that auto white balance doesn’t shift the colours of your individual frames as lighting conditions change. I would recommend either using daylight white balance or manual white balance to achieve the correct appearance in your first frame. If you forget and leave your camera on auto-white balance, it’s not a disaster providing you shoot in RAW (which I would recommend) in which case you can adjust the white balance to the same values for each frame when stacking the images together. Using a night filter can reduce the impact of light pollution on white balance as well.
The appearance of the star trails
- Thin trails but densely packed
You will need to stack many images with settings used typically for a ‘milky way’ image. Example settings might be F2.8 ISO 6400 30 seconds for a wide angled lens. To get a good star trail, you may need anywhere upwards of 30 minutes exposure right up to several hours. This approach would end up with post processing possibly several hundred images. Ensure that your camera’s noise reduction is turned off otherwise you will have breaks in the trail where the camera is performing the noise reduction rather than recording images.
- Sparse trails
If you want separation between stars such that the sky doesn’t give the appearance of almost dense white, your settings might be such that only the brightest stars stand out. Example settings might be F5.6 ISO 400 2-minute exposures. This means that each image will have some trails, and your total number of images to post process is reduced.
- ‘Fat’ trails
If you want the appearance of more prominent trails, you might intentionally choose to have the stars slightly out of focus with the same settings in point b. Instead of focussing precisely on the stars, shift the focus slightly closer and the stars will appear less crisp on live view.
Equipment that may come in handy
- Wide angled lenses
Wide angled lenses are preferable to capture the full extent of trails.
- Cable release and intervalometer
This will allow you to take a certain amount of shots with the correct settings on bulb mode. For instance, you might set the intervalometer to take 90×2 minute images for a total of 3 hours exposure.
- Night filters
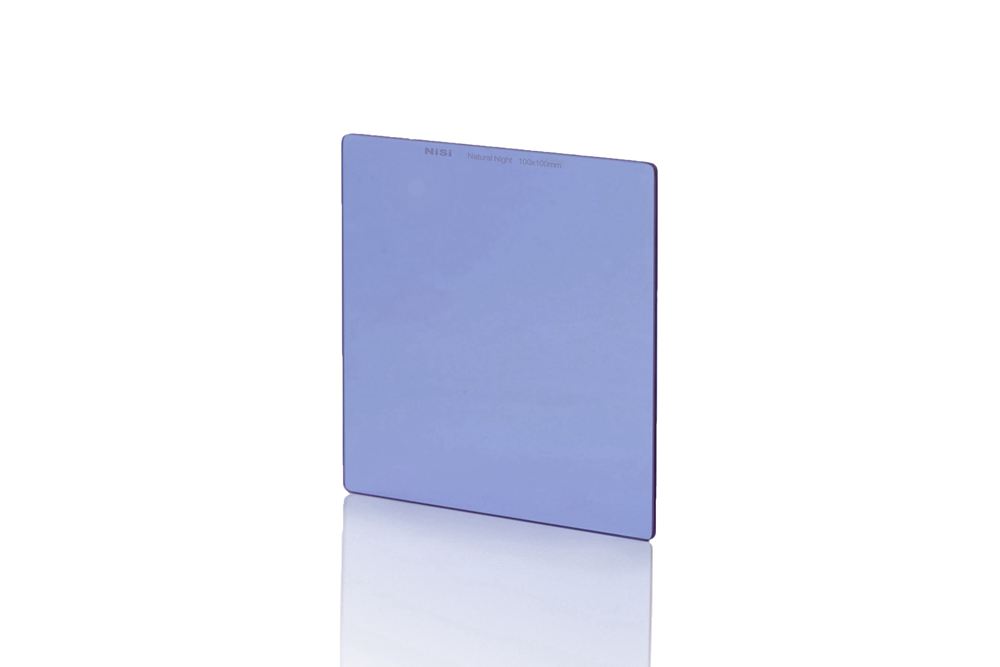
This may come in handy if there is distant light pollution in the background. Due to the 1 stop light reduction that these filters introduce, you will need to either double your exposure time for each frame or double your ISO. Using a night filter also helps with achieving a more consistent white balance should you choose to shoot with auto white balance.
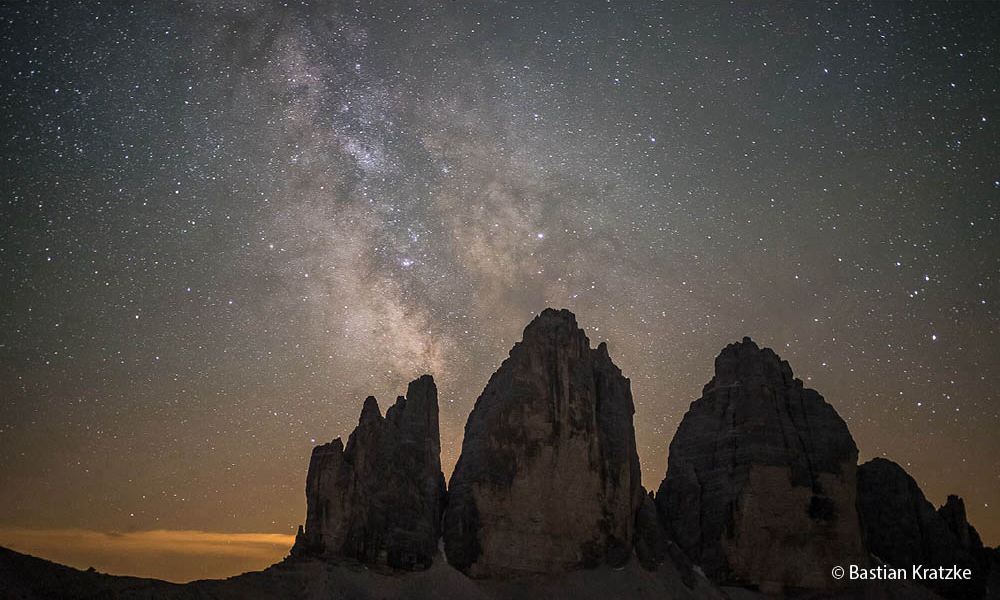
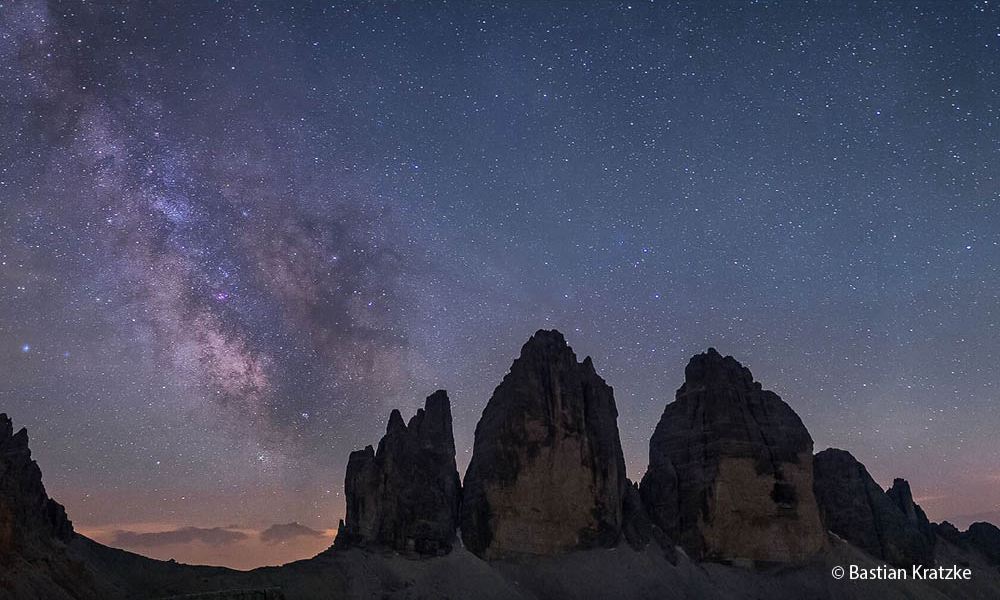
@Bastian Kratzke Shot with NiSi Natural Night
- Battery grip
If you are planning for a prolonged star trail (hours duration), you will not want to change your battery in the middle of the image series.
- Hand warmers
If you are shooting on a cold night, there is a risk of condensation on your equipment should the lens or any other part of your set up become colder than the dew point. Crushable hand warmers can be applied periodically to your setup in order to prevent this from happening.
- A comfortable chair and a good book?
You’re in for a long haul when you shoot star trails so make sure you bring something that will keep you occupied for the duration!
Do You Need a Night Photography Filter?
by Dylan Toh